Wedding Day Guide
Congratulations on your upcoming wedding! I’m not a wedding planner, but after years of photographing weddings, I’ve learned a few simple things that can make the day flow more smoothly. This guide shares helpful tips from a photographer’s perspective—little insights about timelines, lighting, and keeping things relaxed. I hope it makes your planning easier and your day even more beautiful.
What’s in the guide?
You’ll find helpful sections on lighting, photo tips, family groupings, reception events, what to bring, and how to keep things running smoothly without stress. There are also editable Google Doc versions of the timelines and checklists so you can make a copy and customize them for your own wedding day.
What’s Inside Your Wedding Day Guide
Wedding Day Timelines
These timelines are just suggestions to help you get started, so feel free to move things around however you want. Every wedding day is different! When you’re planning, think about what time the sun sets during your season, the lighting at your venue, and when you prefer each moment to happen. You can use the Google Doc versions I’ve included—just make a copy and customize them to fit your day perfectly. And be sure to talk with your photographer—they’ll help you figure out the best times for lighting on your specific wedding day for family photos, couple portraits, and anything else you want captured beautifully.
-
View the google doc version here.
Wedding Day Timeline With First Look & Pre-Ceremony Photos
11:30 AM — Photographer Arrives / Detail Photos
Photograph dress, shoes, invitations, rings, bouquet, jewelry
Candid getting-ready shots
12:00 PM — Bride Hair & Makeup Finishing Touches
Bride completes hair & makeup
Bridesmaids final touch-ups
12:30 PM — Groom Getting Ready Photos
Groom gets dressed
Candid moments with groomsmen
Boutonnière pinning
1:00 PM — Bride Gets Dressed
Mom/maid of honor helps zip up dress
Veil placement
Final touch-up photos
1:20 PM — First Look
Emotional first look moment
First-look couple portraits begin
1:30–2:15 PM — Couple Portraits (45 minutes)
Romantic portraits
Posed + candid moments
Any special locations nearby
2:15–2:45 PM — Bridal Party Photos (30 minutes)
Full bridal party
Bridesmaids + bride
Groomsmen + groom
Fun + formal poses
2:45–3:15 PM — Family Photos (30 minutes)
Immediate family
Grandparents
Blended family groupings
Couple + each family
3:15–3:45 PM — Break / Hide Guests Arriving
Couple touches up
Drink water + breathe
Bridal party freshens up
Photographer captures ceremony details
4:00 PM — Ceremony Begins
(25–30 minutes)
Processional
Ceremony
First kiss
Recessional
4:30 PM — Cocktail Hour Begins
Guests enjoy drinks
Since photos are done, you can join cocktail hour or take a small break
Optional receiving line
5:15 PM — Grand Entrance Into Reception
Couple enters
Go straight into first dance (optional)
5:30 PM — Dinner & Speeches
Dinner is served
Toasts follow depending on your flow
6:45 PM — Sunset / Golden Hour Couple Photos (15 minutes)
Step out for dreamy golden-light portraits
Guests continue eating or mingling
Your photographer will time this based on sunset
7:00 PM — Cake Cutting / Dessert Moment
7:15 PM — Family Dances
Father–daughter
Mother–son
Any special dances
7:30 PM — Open Dancing Begins!
9:00 PM — Private Last Dance (Optional)
Guests line up outside for send-off
9:05 PM — Grand Send-Off
Sparklers, bubbles, glow sticks, etc.
-
View the google doc version here.
Wedding Day Timeline — No First Look
All full family, full bridal party, and couple portraits take place AFTER the ceremony.
11:30 AM — Photographer Arrives / Detail Photos
Dress, shoes, rings, bouquet, invitations
Candid getting-ready shots
12:00 PM — Bride Hair & Makeup Final Touches
Bridesmaids touch-ups
Room tidied for photos
12:15–12:45 PM — Bride Getting Ready Photos (30 minutes)
Bride gets into dress
Mom/MOH helping
Veil placement
Candid emotional moments
12:45–1:05 PM — Groom Getting Ready Photos (20 minutes)
Groom getting dressed
Quick candids
Boutonnière pinning
Groom detail coverage
1:05–1:25 PM — Bride + Bridesmaids (20 minutes)
Full group
Bride with each bridesmaid (quick)
Fun + candid group poses
1:25–1:30 PM — Bride Self Portraits (5 minutes)
Quick bridal portraits
Veil + bouquet shots
1:30–1:50 PM — Groom + Groomsmen (20 minutes)
Full group
Groom with each groomsman
Candid + formal shots
1:50–1:55 PM — Groom Self Portraits (5 minutes)
Quick solo portraits
Jacket & boutonnière details
1:55–3:30 PM — Couple + Bridal Party Break / Guest Arrival Period
Touch up hair & makeup
Hydrate + snack
Photographer captures ceremony details
4:00 PM — Ceremony Begins
(15 - 25 minutes)
Processional
Ceremony
First kiss
Recessional
4:30–5:00 PM — Family Photos (30 minutes)
Immediate + blended families
Grandparents
5:00–5:15 PM — Full Bridal Party Photos (15 minutes)
Entire wedding party
Fun + formal poses
5:15–6:00 PM — Couple Portraits (45 minutes)
Romantic + candid portraits
Artistic poses
(May overlap with cocktail hour—normal for no–first look weddings!)
6:15 PM — Grand Entrance Into Reception
Couple enters
Go straight into first dance (optional)
6:30 PM — Dinner & Speeches
Dinner is served
Toasts follow depending on your flow
7:30 PM — Cake Cutting / Dessert Moment
7:40 PM — Family Dances
Father–daughter
Mother–son
Any special dances
7:55 PM — Open Dancing Begins!
9-10PM — Private Last Dance
Guests line up outside for send-off
Grand Send-Off
Sparklers, bubbles, glow sticks, etc.
Getting Ready
The time you give yourself to get ready can have a big impact on how smoothly the rest of your timeline flows. Always plan extra time in case of unexpected delays—such as running late to the venue, touch-ups or redo’s for hair and makeup, last-minute errands, or other small emergencies.
Things to Remember:
Make sure the wedding party knows exactly when to arrive.
Set out and organize everything you need to bring to the venue the night before (same goes for the groom).
Confirm the planned arrival time for your hair and makeup artists.
Build in extra time in case of delays or unexpected emergencies.
Create a fun “getting ready” playlist to help ease nerves.
Prepare snacks, brunch items, and drinks to stay energized.
Pack your Bride Emergency Kit.
Getting Ready Photos
One of the most commonly overlooked parts of getting-ready photos is keeping the room clean. The space where you’re doing hair and makeup can quickly fill with curling irons, clothing, boxes, and bags. Before your important photos are taken, take a moment to tidy the room for the best possible images or plan to take the photos in a seperate room. The same goes for the groom’s getting-ready space.
If you want special moments captured—such as your mother helping you zip up your dress—be sure she knows when to arrive so she doesn’t miss that moment.
Detail Photos
While you are getting ready, prepare a small box or bag with all the detail items you want photographed and have someone hand it to the photographer when they arrive. This ensures nothing is missed during your detail photos.
After getting ready…
After finishing your getting-ready photos, you have several options for what comes next. Many couples choose to do a first look, followed by couple portraits, bridal party photos, and immediate family photos. If you prefer not to do a first look, you can still take separate photos of the bride with her bridesmaids and the groom with his groomsmen. You can also plan special first looks with parents or other loved ones if you want to capture those moments. There are many different ways to structure this part of the day—choose what feels right for you.
If your goal is to complete most of the photos before the ceremony, a first look is highly recommended. It allows you to take almost all portraits beforehand, leaving only a few quick photos after the ceremony. If you decide not to do a first look, you can still get your individual portraits and each side of the bridal party photographed ahead of time.
It’s also important to consider lighting. The most flattering light typically occurs in the early morning or late afternoon/evening. If beautiful lighting is a priority for you, plan to take most photos after the ceremony during golden hour or close to it. If you’re taking photos in the middle of the day, opting for indoor locations or shaded areas can help create softer, more flattering images.

First Look
I suggest planning on doing what feels the best for you! If you don’t want a first look and wait until you walk down the aisle, then go for it! If you do plan to do a first look, here are the pros.
More Time Together on Your Wedding Day
You get to spend the majority of the day with your partner instead of waiting until the ceremony to see each other.
More Photos Done Early
Doing a first look allows you to complete:
Couple portraits
Bridal party photos
Immediate family photos
This frees up your timeline and minimizes the number of photos needed after the ceremony.
A Private, Emotional Moment
A first look gives you a quiet moment alone to react naturally, away from guests and distractions. Many couples find this grounding and special.
Better Lighting Options
If your ceremony is later in the day or close to sunset, a first look ensures you still get beautiful photos in ideal lighting before the ceremony.
You Look Your Freshest
Hair, makeup, and flowers are at their best earlier in the day, typically before heat, wind, or hours of activity.
Eases Pre-Ceremony Nerves
Seeing each other often calms nerves and makes the ceremony feel smoother and more enjoyable.
More Time to Enjoy Cocktail Hour
If most portraits are done early, you can join your guests for cocktail hour or spend more time celebrating instead of rushing through photos.
More Time for Creative & Romantic Photos
With no time crunch, your photographer can get more variety, creativity, and tender moments in your couple portraits.
Allows for Special First Looks With Family
If you want first looks with dad, mom, or siblings, doing a first look with your partner helps fit everything comfortably into the timeline.
The Ceremony
Things to consider when planning your ceremony…
-
Most ceremonies last about 20–30 minutes, depending on the length of your vows and how long your officiant chooses to speak.
Processional (Walking In)
Length: 2–5 minutes
The pace depends on:Number of family members walking in
Size of the bridal party
Song length
How slow and intentional the walk is (slower always photographs better)
Officiant Welcome + Opening Remarks
Length: 2–4 minutes
This includes:Welcoming guests
A brief introduction
Setting the tone or sharing a short message
Readings or Special Moments (Optional)
Length: 1–3 minutes
Examples:A reading
Prayer or blessing
Unity ritual
Vows
Length:
Repeating after the officiant: 30–60 seconds
Personal written vows: 1–3 minutes each
Ring Exchange
Length: 30–60 seconds
A simple, smooth transition works best:Exchanging rings
Repeating a short phrase (“With this ring…”)
Quick photo moment
Pronouncement + First Kiss
Length: 20–30 seconds
Recessional (Walking Out)
Length: 1–2 minutes
You walk back up the aisle while guests cheer—this is one of the happiest moments of the day. Don’t rush it!Total Ceremony Length
Most couples end up around: 15–25 minutes
Long enough to feel intentional, short enough to stay engaging for guests. -
Processional Order (Walking In)
Grandparents
Parents
Officiant (optional)
Groom (alone or with parents)
Wedding party
Groomsmen
Bridesmaids
Maid/Matron of Honor & Best Man
Flower girl / Ring bearer (optional)
Bride (alone or escorted)
Recessional Order (Walking Out)
Newlyweds
Maid/Matron of Honor & Best Man
Wedding party (paired or single file)
Flower girl / Ring bearer
Parents
Grandparents
Guests follow
-
It’s important to find an officiant who will set the best tone for your ceremony.
Officiant Hiring Checklist
Decide the style you want:
Formal or casual?
Religious, spiritual, or nonreligious?
Lighthearted or serious?
Start your search:
Ask friends/family for recommendations
Look on The Knot, WeddingWire, or Google
Browse local Facebook groups
Consider a trusted friend getting ordained
Review their ceremony style:
Do they offer customizable scripts?
Will they help guide the ceremony flow?
Can they incorporate vows, readings, or cultural elements?
Make sure they’re legally able to marry you:
Confirm they are ordained or licensed to perform weddings in your state
Have a planning meeting:
Go over your ceremony outline
Discuss pronunciation of names
Clarify where everyone stands and how the processional works
Choose someone who feels right:
Warm, confident, clear communicator
Someone who makes you feel calm and supported
-
Lighting plays a huge role in how your ceremony looks and feels in photos. Here are a few simple guidelines to help you choose the best timing and setup.
Outdoor Ceremonies
The best lighting is soft, even light—never harsh, overhead sun. Ideal ceremony times vary by season:
Spring: 3–5 PM
Summer: 5–7 PM
Fall: 3–5 PM
Winter: 1–3 PM
Tip: Try to position the sun behind you during the ceremony, or choose a spot with open shade. This keeps you from squinting and creates softer, more flattering skin tones.
Tip 2: Plan for your ceremony to end with enough time for family groups, bridal party photos, and couple portraits if you’ll be taking those afterward.
Indoor Ceremonies
Indoor lighting works best when it’s:
Soft and even
All one color temperature (avoid mixed yellow + blue lighting)
Near windows with natural light, if possible
If the room is dim, that’s okay—your photographer can adjust. Just try to avoid strong spotlights or uneven lighting on your faces.
If You Can’t Control the Lighting
Don’t worry—your photographer will adjust to whatever the day brings. But choosing thoughtful lighting ahead of time always elevates your photos and keeps the ceremony feeling relaxed and comfortable.
-
Start early. Give yourself time to think, write, and revise.
Set a tone together. Decide if your vows should be funny, romantic, traditional, or a mix so they feel balanced.
Be personal. Share a small story, a moment that meant a lot to you, or what you love most about your partner.
Make meaningful promises. Include both heartfelt commitments and a few everyday ones that feel true to your relationship.
Keep it focused. Aim for 1–2 minutes. Short, sincere vows always land well.
Practice aloud. Practicing helps you slow down, breathe, and feel confident reading them.
Let yourself feel emotions. Tears, laughter, pauses—this is what makes the moment real and beautiful.
What Brides and Grooms Should Know
Your vows don’t need to sound poetic—just honest and true to you.
Your vows don’t have to match perfectly; they should reflect your personalities.
Let your officiant know you’re writing your own vows so they can plan the flow.
Speak slowly and clearly—this helps your photographer capture every reaction and emotion.
-
Let guests know in advance on your invitation or website.
Place a clear sign at the ceremony entrance.
Have your officiant give a quick reminder before the ceremony begins.
Explain that you want everyone fully present and to avoid phones blocking photos.
Tell guests they’re welcome to take pictures later at the reception.
Keep the wedding party unplugged—guests usually follow their lead.
-
Do you plan to use a microphone and speaker setup, speak without amplification, use your DJ’s equipment, or something else? Keep in mind that using a microphone can help your videographer capture a much cleaner audio feed for your wedding film.
-
Ring Bearer:
Use fake rings on the pillow/box and keep the real rings with the best man or officiant so nothing gets lost.
Walk-through once before the ceremony so they know where to go and who to hand the rings to.
Give them a helper (an older sibling, parent, or bridesmaid) to walk with if they’re shy.
Keep it fun — small treats or a little encouragement help them feel confident and excited.
Use a secure ring box instead of a loose pillow to avoid drops or spills.
Flower Girl:
Practice the walk — A quick walk-through helps her know where to go and when to start.
Show her how to toss petals — Kids often dump the whole basket at once, so a short demo helps!
Keep it fun and relaxed — Let her know it’s okay if she walks slow, smiles, or goes at her own pace.
Have a helper nearby — A parent or bridesmaid can stand at the end of the aisle to guide her.
Choose comfortable shoes — Little feet get tired fast; comfort = confidence.
Have backup options — If petals aren’t allowed, use bubbles, ribbons, a small bouquet, or a sign.
Be flexible — Kids can be unpredictable. If she gets shy or nervous, let her join her parents instead — it’s still adorable.
-
If your ceremony is outdoors, be mindful of the weather.
If it’s hot or sunny, offer hand fans or shade umbrellas/parasols to keep everyone comfortable.
If it’s cold, consider providing hand warmers for guests.
If rain is possible, have umbrellas available.
Ceremony Walkthrough Checklist
Even without a rehearsal (although a rehersal is highly recommended), thinking through these small details can make everything feel smoother and look better in photos.
Processional Basics
Entrance and exit plan
Walking pace (make sure the music matches the pace)
Bride walking alone or with parent/parents
Bridal party walking together or single file
Where everyone will stand or sit
Key Ceremony Moments
Special elements (readings, unity rituals, musical numbers)
Exchanging vows + who’s holding the vow books before hand
Kiss style for first kiss (simple, standing, dip, etc.)
Do you plan to kiss halfway down the aisle when you exit?
Hold hands during the ceremony for more natural photos
Ask the bridal party to cheer as soon as the officiant announces, “You may kiss the bride.”
Ceremony Music
Before the Ceremony
Soft playlist for guest arrival (15-30 min.)
Or have your DJ prepare it
Processional (Walking In)
Song for parents/grandparents
Song for the wedding party
Bride’s entrance song
Optional Music Moments
Unity ritual
Musical number
Reading background
Prayer or meditation moment
Recessional (Walking Out)
Upbeat, joyful song right after you're pronounced married
For some classic wedding songs and playlists, click here.
Post-Ceremony Announcements to Consider
Right after your ceremony, it’s helpful to have the officiant or photographer make a few quick announcements so guests know exactly where to go and to make family and group photos go smoothly.
If you plan to take family group photos immediately after the ceremony, make sure an announcement is made for all family members to stay in the ceremony area so no one wanders off. If you want a large group photo with all guests, this is also the best time to do it—announce it right away so everyone can quickly gather before heading to cocktail hour.
If you plan to take bridal party photos as well, be sure to announce for the entire bridal party to remain nearby so they don’t drift away once the ceremony ends.
If you’re going straight into family and bridal party photos…
Make sure an announcement is made immediately so guests don’t wander off.
“Immediate family (parents, siblings, and grandparents), please stay in the ceremony area for photos. All other guests may head to ___.”
“Before heading to cocktail hour, we’d love to take one big group photo with everyone. Please make your way to the designated photo location. Once the photo is taken, cocktail hour will begin.”
If you want an Irish Exit during the dance party
Your officiant or DJ can explain this ahead of time or right after the ceremony so guests know the vibe:
“Later tonight, the couple invites you to Irish Exit whenever you’re ready—no formal goodbye needed!”
If you want guests directed to cocktail hour, dinner, or reception spaces
Helpful announcements include:
Where cocktail hour will be held
When dinner will be served
Where to place gifts/sign the guestbook
When the couple will join guests
Family Group Photos
Depending on the number of guests and the size of each family grouping, family photos typically take around 30 minutes. To help everything run smoothly, have anyone with pockets — especially grooms and groomsmen — empty them beforehand. Remove hair ties from wrists, take off bulky watches if you don’t want them in photos, smooth out hair, and adjust clothing. Your photographer will help with these final touches as they prepare each group.
To make sure no important combinations are forgotten in the excitement of the day, you’ll want to provide your photographer with a family photo shot list. This helps cover every grouping you want and keeps the process organized and efficient. These are Google Doc files, so feel free to make a copy and edit them however you need to make them to fit your family dynamic.
Here is my recommended family photo shot list templates:
Bridal Party Photos
Bridal party photos typically take around 20-30 minutes, depending on the size of the group and how prepared everyone is.
Before starting bridal party photos, make sure everyone is photo-ready by removing anything that can distract in pictures—this includes emptying pockets, taking off hair ties, chunky watches, or sunglasses, and making sure clothing is smoothed and straightened. Bridesmaids should have their bouquets arranged and ready to hold, and groomsmen should have their boutonnieres pinned securely. Bridesmaids may also want to lightly cover any noticeable tan lines with makeup for a more even look in photos.
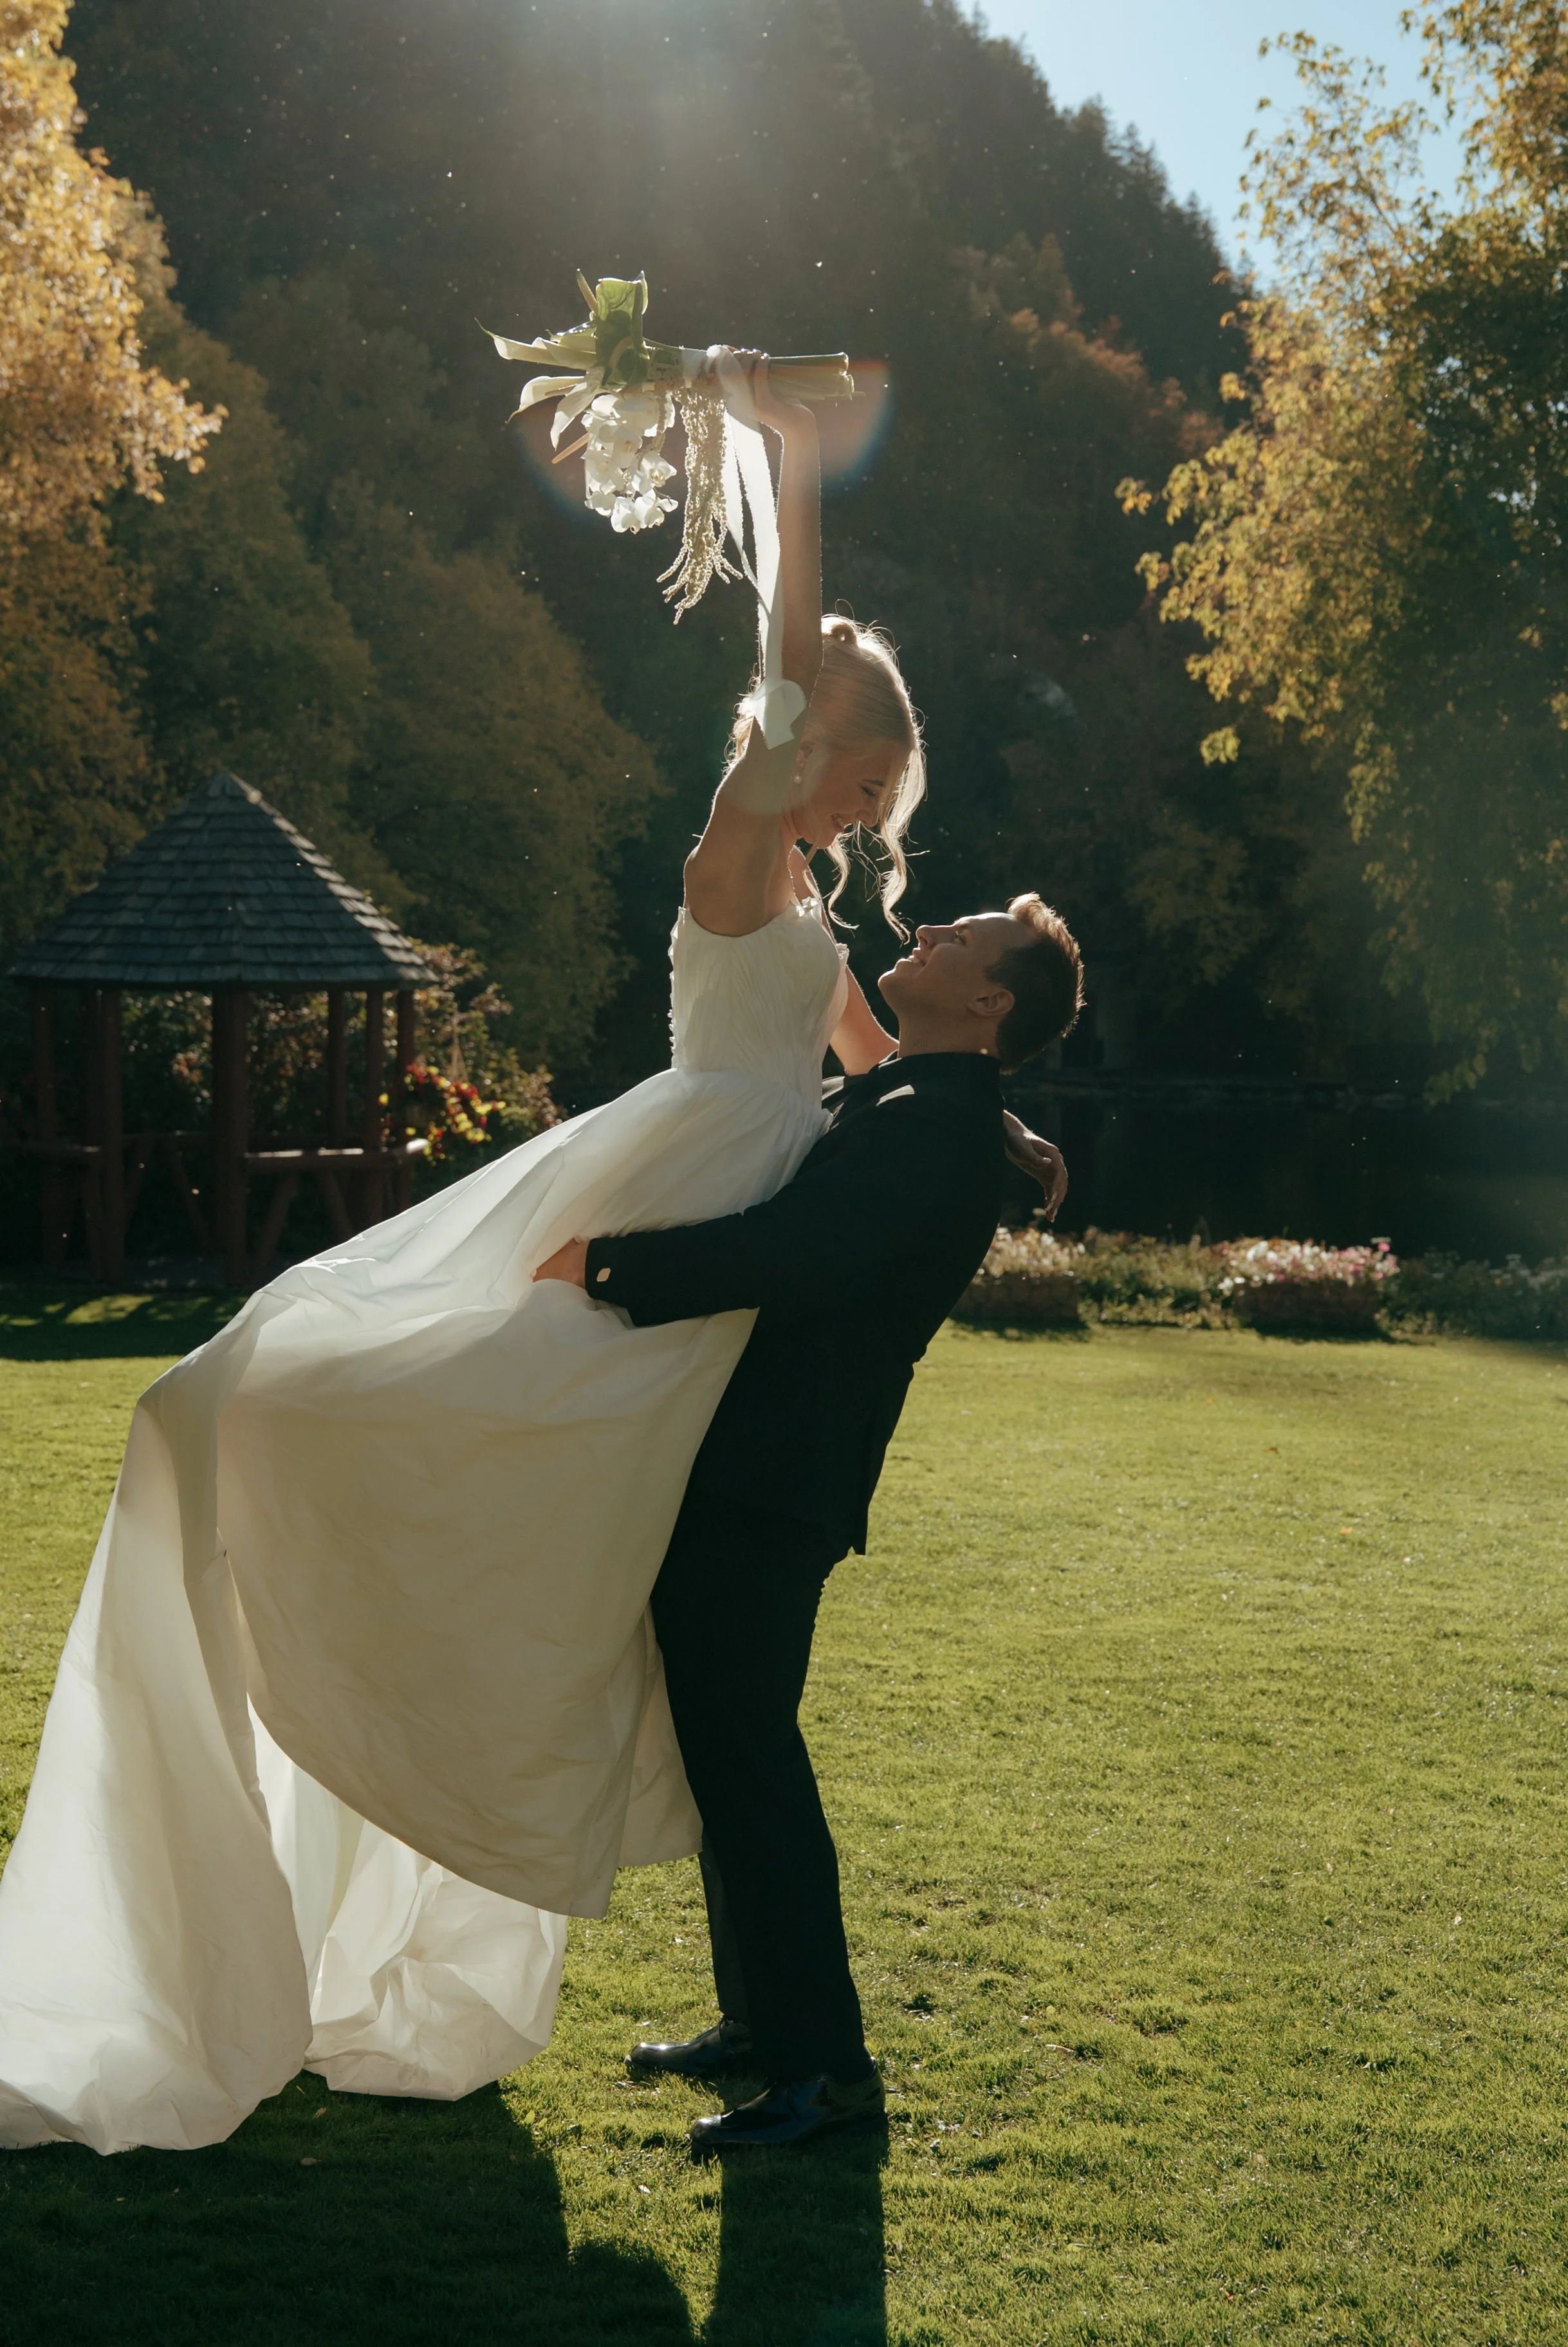
Couple Portraits
If you plan on doing a first look, this is when the majority of your couple portraits can be taken. To capture that beautiful golden hour glow, you can schedule a few additional photos after family and bridal party portraits, or plan a brief moment during the reception to step away for more photos. The timing will depend on the sunset that day and how your events are arranged around it.
If you don’t plan to do a first look, you will want to plan for a decent amount of time after the ceremony to take couple portraits. If couple portraits are important to you, expect them to take around 45 minutes.
Here are some tips when taking couple portraits…
Have a bridesmaid or trusted friend nearby to help adjust hair, makeup, the dress, veil, or anything else that needs quick fixing.
Take a deep breath, slow down, and be fully present in the moment with your partner.
Communicate openly with your photographer so they can capture the poses, emotions, and story you envision.
The Reception
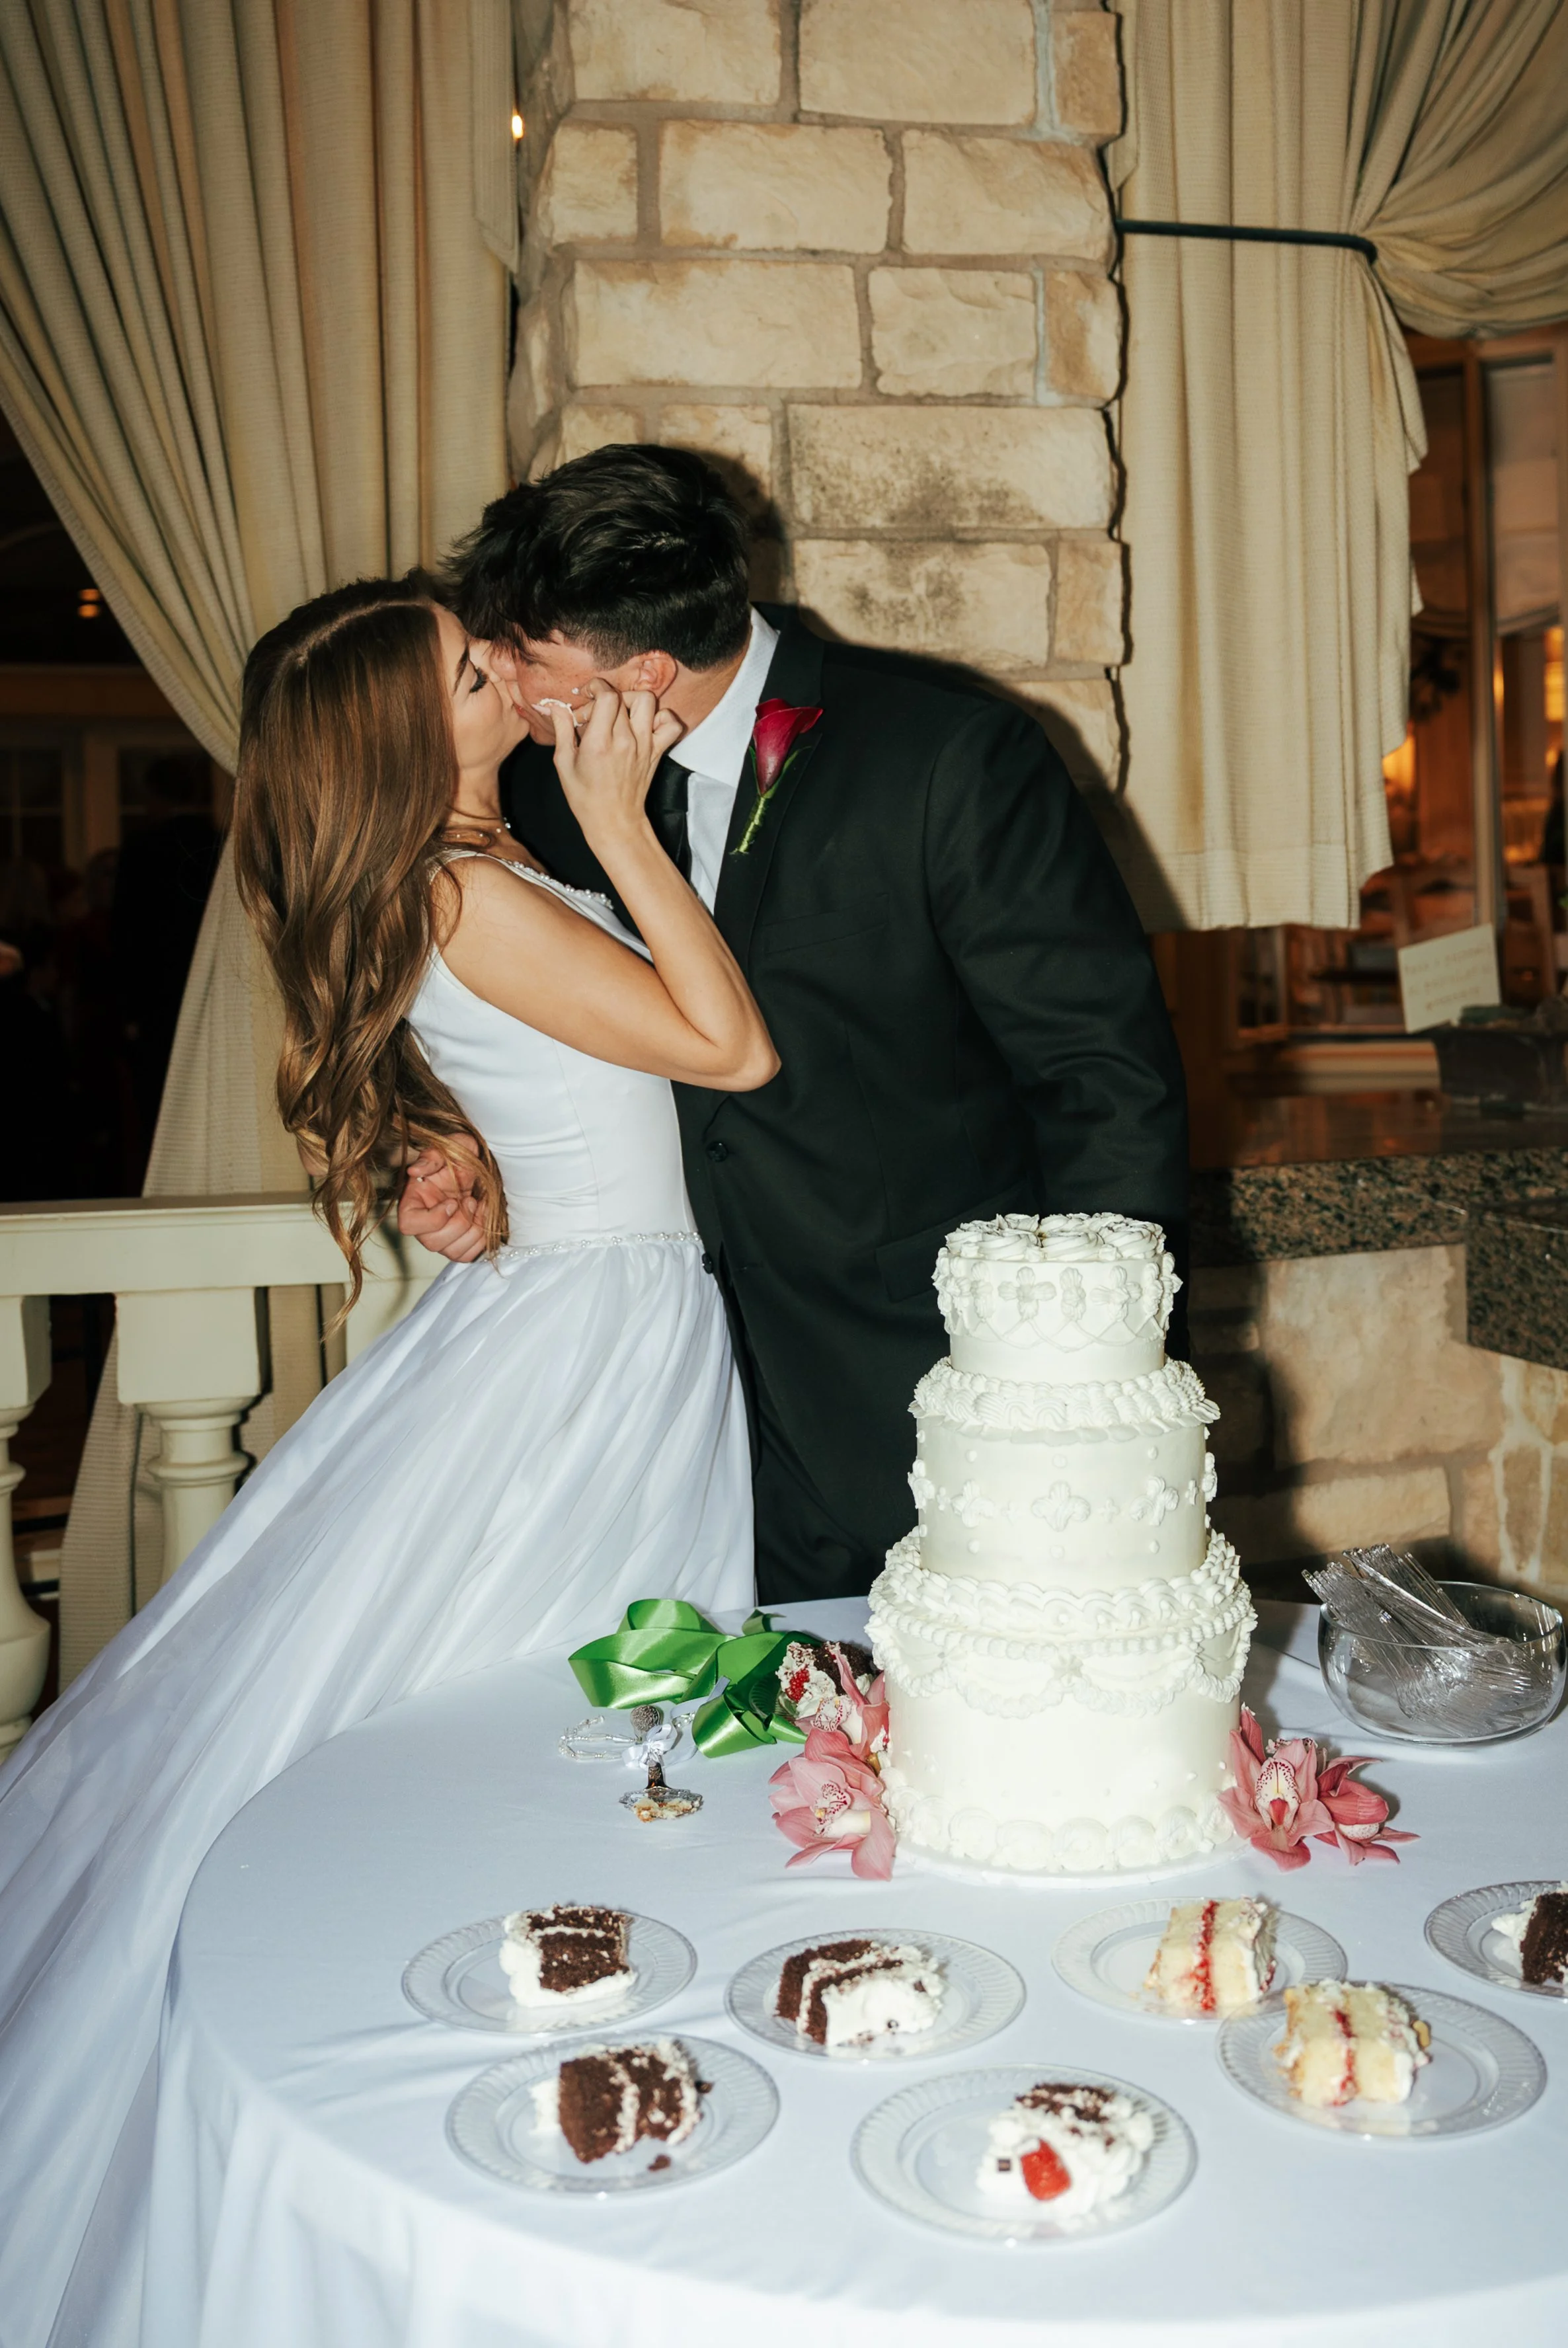
As you go through this section, you’ll find tips to help you keep the night running smoothly—like building in extra time for transitions, choosing a few songs that will get everyone on the dance floor, and assigning a trusted friend to help gather people for special moments. Use this guide to make your reception feel organized, enjoyable, and totally “you,” so you can be present and enjoy every moment.
Typical Order of Events:
Cocktail Hour
Grand Entrance
First Dance / Family Dances
Dinner and Speeches
Cake Cutting / Dessert Moment
Games and Activities (Shoe Game, Bouquet Toss, etc.)
Open Dancing
Send-Off
Cocktail Hour
Cocktail hour typically lasts 45 minutes to an hour. If you decide to do a first look and take your family, bridal party, and couple portraits before the ceremony, you can spend cocktail hour enjoying time with your guests. This is a wonderful chance to mingle, greet loved ones, and even do a receiving line if you want more personal time with each guest. If you choose not to do a first look, cocktail hour becomes the perfect window to finish the remaining portraits before dinner begins.
Tips for Cocktail Hour
Have appetizers ready right away so guests aren’t waiting or wandering.
Provide clear signage directing guests to cocktail hour if it’s in a separate location.
Offer a non-alcoholic signature drink so everyone has something to sip.
Set up entertainment like lawn games, a photo station, or soft background music.
Make sure your guestbook and detail tables (seating chart, gifts, cards) are easy to find.
Have a designated helper gather family or bridal party if more photos are needed.
Keep water easily accessible, especially for outdoor weddings.
Plan shade or heaters depending on the weather.
If you’re joining cocktail hour, take a quick 5-minute breather alone with your spouse first—you’ll appreciate it.
Give vendors a timeline so transitions into dinner feel smooth and seamless.
Tips for Your Grand Entrance
Decide on your entrance style—fun, elegant, high-energy, or simple and sweet.
Choose a great entrance song that feels like “you” and sets the tone for the reception.
Need help choosing a song? View my wedding playlists here.
Coordinate with your DJ or emcee so they know how to pronounce names and the order of introductions.
Have your bridal party ready and lined up a few minutes beforehand to keep things moving smoothly.
Practice how you’ll enter—walk, dance, spin, dip, or just smile and wave.
Hold your bouquet low for a more flattering and open pose in photos.
Pause briefly at the center of the dance floor or entrance spot so your photographer can capture a clean shot.
Keep the energy up with smiles, eye contact, and excitement—your guests feed off your vibe!
Transition smoothly into your first dance or right into dinner depending on your timeline.
First Dance
Your first dance sets the tone for your entire reception, so planning a few simple details can help it feel seamless and memorable. Think about when you want it to happen in the evening, what song fits the mood you're hoping for, and how you’d like to be introduced onto the dance floor. Coordinate with your DJ or emcee ahead of time, make sure you know where to stand for the best lighting and photos, and decide whether you want the moment to be private and emotional or upbeat and fun. A little preparation ensures your first dance unfolds beautifully and feels true to you as a couple.
Still looking for a first dance song? View my playlist here.
Choose a song that feels personal and fits the mood you want—romantic, fun, or sentimental.
Decide on your dance style ahead of time—slow sway, simple steps, or a choreographed routine.
Practice holding each other comfortably so you feel natural and relaxed.
Stay close and connected—focus on each other, not the guests watching.
Let your photographer know if there’s a dramatic dip, spin, or special moment you want captured.
Keep your bouquet down or hand it to someone before entering the dance floor.
Take it slow and breathe—the moment goes by quickly, so be present and enjoy it.
Smile and talk softly to each other to ease nerves and create genuine, emotional photos.
Consider dance floor lighting—soft, warm light makes photos dreamy and flattering.
Plan a clean transition afterwards, such as going straight into parent dances or inviting guests onto the dance floor.
Family Dances
Family dances are some of the most heartfelt moments of your reception, offering a chance to honor the people who helped shape your life. Whether you choose to include traditional parent dances or create your own version of these moments, a little planning helps everything feel smooth, meaningful, and true to your relationships.
Still looking for a father-daughter song? View my playlist here.
Choose songs that feel personal, even if they aren’t traditional—sentimental lyrics matter more than genre.
Keep each dance around 60–90 seconds if you want to avoid long or awkward moments; your DJ can fade songs out naturally.
Decide the order of dances ahead of time (father–daughter, mother–son, combined dance, etc.) and share it with your DJ.
Practice a simple sway or steps so you feel comfortable and confident on the dance floor.
Check with parents about song choices to make sure the moment feels meaningful for both of you.
Let the photographer know if you're planning a special moment—like a dip, twirl, or emotional pause.
Choose a well-lit area for the dances so photos and video turn out beautifully.
Invite guests to join in after a minute or two if you prefer a shorter, more low-pressure moment.
Have tissues ready—these dances often bring sweet, emotional moments.
Consider combined dances if family dynamics feel complicated; it keeps the moment inclusive and avoids awkward transitions.
Dinner
Dinner is a key transition in your reception, and the way you plan it will shape the flow of the entire evening. As you think through this part of the night, consider how you want guests to be seated, how food will be served, and how to keep the atmosphere comfortable and enjoyable for everyone.
Decide on your serving style early—buffet, plated, family-style, or food trucks—and communicate the plan clearly with your caterer and coordinator.
Create a clear seating plan (even if loose for a buffet) to help guests find their seats quickly and reduce congestion at the entrance.
Keep dietary needs organized, either with a seating chart note or a subtle mark on place cards, so guests with restrictions are taken care of.
Expect dinner to take 45–90 minutes, depending on guest count and serving style.
Have water poured and tables set before guests sit down to create a smooth, welcoming experience.
Schedule toasts during dinner to keep guests engaged and maintain a natural flow.
Place your sweetheart or head table where it’s easily visible for both guests and photographers.
Offer a vendor table so your photographer, DJ, planner, and videographer can eat efficiently and return to coverage quickly.
Use soft, warm lighting to keep the atmosphere cozy and flattering for photos.
Play gentle background music to maintain a relaxed mood without overpowering conversations.
Seat elderly guests away from speakers to keep the environment comfortable for everyone.
Double-check dietary restrictions before the wedding to ensure no guest is overlooked.
-
Have multiple buffet lines (or a double-sided table) to keep the line moving quickly.
Release tables one at a time—either by your DJ or a designated helper—to avoid crowding.
Place plates at the start of the buffet, not on guest tables, so guests don’t have to juggle.
Keep utensils at the end of the buffet, preventing guests from holding them while filling plates.
Ensure signage is clear (gluten-free, vegetarian, dairy-free, etc.) to help guests choose correctly.
Have servers assist with portioning for popular items so food doesn’t run out early.
Keep buffet tables well-lit so guests can see what they’re choosing—especially at outdoor or evening receptions.
Assign someone to monitor food levels so trays are replaced promptly.
Have a separate children's food line if you’re offering kid-friendly meals.
-
A seating chart is essential—servers need to know exactly where each guest is sitting.
Mark dietary restrictions on place cards with small symbols or color dots.
Serve salads or bread first to keep guests occupied while entrees are being plated.
Time toasts during plated service, usually after salads or once most guests have their entrée.
Ensure you and your spouse get served first so you have time to eat before the next reception event.
Coordinate timing with the kitchen so food stays fresh, hot, and synchronized with your timeline.
Have servers pour water and set place settings before guests arrive for a polished look.
Keep plated dinners to 60–90 minutes depending on guest count.
-
Start with VIP tables first: parents, grandparents, bridal party.
Seat elderly guests away from speakers for comfort.
Group guests by connection: family groups, college friends, coworkers, church groups, etc.
Avoid leaving guests isolated—aim for 8–10 people per table (or 6–8 for smaller rounds).
Use alphabetized seating chart displays—much faster for guests than table-number ordering.
Consider signage that’s easy to read in low light if your reception takes place after dark.
Keep kids near parents and consider a designated kids’ table with activities if appropriate.
Label table numbers clearly and place them higher so they can be seen over centerpieces.
Build in extra seating (1–2 extra chairs) in case someone brings an unexpected guest.
Finalize the chart last—guest RSVPs always shift up until the final week.
-
Food trucks are fun, but timing matters. Here’s how to make them run smoothly:
Before the Event
Confirm arrival and setup time—most trucks need 45–60 minutes before serving.
Ask how many guests they can serve per hour.
If you have over 100 guests, consider two food trucks or a simplified menu.
During Serving
Have guests eat in waves to avoid long lines:
Release VIP tables first
Then groups of 3–4 tables
Provide apps or snack stations while guests wait to soften the line time.
Make sure there's ample lighting at the truck if serving after sunset.
Have a drinks station separate from the truck to keep the line moving.
Menu Planning
Choose 2–3 main entrée options.
Add 1–2 sides that are quick to prepare.
Avoid complicated or made-to-order items for large guest counts.
Other Tips
Have a backup indoor serving plan if weather turns.
Provide clear signage telling guests how to order.
Make sure the venue allows food trucks and has proper access/parking.
Communicate serving times in your wedding program or on a sign.
Speeches
Speeches can be one of the trickier parts of the reception to plan, since you’re giving the microphone to people with different personalities and speaking styles. To help keep things smooth and well-paced, here are some recommended timing and order ideas to consider. Of course, you’re welcome to customize the flow in any way that feels right for you and your celebration!
Keep speeches short and meaningful—aim for 2–4 minutes per person to keep the evening flowing.
Choose a clear speaking order. A common, smooth sequence is:
Welcome Speech – typically the father or mother of the bride (or whoever is hosting).
Mother of the Groom (optional)
Father of the Groom (optional)
Maid/Matron of Honor
Best Man
Anyone else the couple invites to speak
Couple’s thank-you speech (optional but always appreciated)
Tell your photographer and videographer before speeches begin so they have time to set up lighting, position themselves, and mic each speaker for clear audio.
Decide in advance who is speaking and communicate that clearly so there are no unexpected or unplanned speeches.
Give each speaker a time limit to prevent overly long or off-track moments.
Have your DJ or coordinator manage the microphone to ensure smooth transitions and avoid awkward pauses.
Plan speeches during dinner, ideally once the first few tables have been served, so guests stay engaged without interrupting the meal.
Notify each speaker shortly before their turn so they’re prepared and comfortable.
Encourage speakers to keep stories heartfelt and appropriate, avoiding inside jokes or embarrassing moments.
Choose a well-lit area for speeches so photos and video look beautiful.
Finish with a toast, inviting guests to raise their glasses before transitioning to the next event.
Activities
Activities are a fun way to keep your reception feeling lively and help your guests feel connected and entertained. You can stick with the classics, add in games, or choose moments that show off your personalities as a couple. There’s no right or wrong—just pick what feels fun to you and matches the vibe you want for your night.
Activity Ideas
Bouquet Toss
Garter Toss
Cake Cutting
Photo Table Run
(bride and groom run to each table to grab a picture with everyone before the song stops)
Newlywed Trivia
Photo Booth with props
DIY Polaroid Guestbook
Lawn games (cornhole, giant Jenga, ring toss, croquet)
“Guess Our Love Story” matching game
Table games or puzzles for guests
Wedding Mad Libs or advice cards
Couples’ Q+A game
Scavenger Hunt (led by the DJ)
Open Dancing
Open dancing is where the real fun starts! You can choose to do your first dance and family dances right before opening the dance floor, or right after your grand entrance—whatever fits your vibe. Just keep in mind that getting people out on the floor can take a little encouragement, so starting with a fun, upbeat song really helps. Slow dances are usually best saved for later in the night once the energy is going. Let the music, lighting, and excitement guide the mood and just have fun with it!
Big tip! A great way to get guests on the dance floor right from the start is to call everyone over for a big group photo before open dancing begins. Once the photo is taken and the music starts, everyone is already on the floor and ready to party!
Open Dancing Tips
Kick off dancing with a high-energy song to get guests excited and moving right away.
Invite everyone onto the dance floor immediately after your first dance to keep the momentum going.
Have your DJ hype the crowd and encourage guests to join in if the floor is slow to start.
Dim the lights slightly—people feel more comfortable dancing when the room isn’t too bright.
Save slow dances for later in the night when the dance floor is already full.
Request must-play songs that fit your crowd, but trust your DJ’s experience with reading the room.
Keep the dance floor centrally located so guests naturally gather around it.
Provide a basket of fun props like glow sticks or light wands to boost the energy.
Stay on the dance floor yourselves—guests will follow your lead!
Dancing Activity Options
Anniversary Dance
Couples leave the floor by number of years married until the longest-married couple is left dancing—always a sweet moment.Snowball Dance
The couple starts dancing, then each picks another partner, who then pick more—it fills the floor fast.Dance Circle / Hype Circle
Everyone forms a circle while people take turns dancing in the center.Line Dances
Fun crowd-pleasers like the Electric Slide, Cupid Shuffle, or Cotton Eye Joe.Kids’ Dance Moment
Let the kids pick a song and have their own dance—it’s adorable and great for photos.DJ Challenge Dances
Follow-the-leader style dances or “copy the DJ” moves to get everyone involved.Soul Train Line
Guests form two lines and take turns dancing down the middle—great energy booster.Limbo
A playful, high-energy activity where guests line up and take turns seeing how low they can go as the bar drops.
Send-Off
Your send-off is the perfect way to end the night with a fun, memorable moment. Many couples choose to sneak away for a private last dance while guests gather outside and get ready for the send-off—it’s a sweet way to slow down, soak in the day together, and enjoy one final quiet moment before the celebration ends.
Choose a safe, venue-approved send-off option, such as sparklers, bubbles, glow sticks, ribbon wands, confetti poppers, or dried petals.
Check with your venue about restrictions on sparklers, open flames, or confetti before deciding.
Have a designated helper or coordinator pass out send-off items and show guests where to line up.
Use longer sparklers (18–36 inches) if you choose sparklers—they burn longer and give you enough time to walk through.
Create a clear pathway for you to walk through, wide enough for dress, bouquet, and photographers.
Walk slowly and enjoy the moment so your photographer and videographer can capture great shots.
Have a backup plan for wind, rain, or extreme weather—like moving the send-off indoors or shifting to bubbles or glow sticks.
Decide whether you want a real exit or a fake exit, where you return to the party afterward—both photograph beautifully. A fake exit is especially helpful if you want those send-off photos without needing to keep your photographer or videographer later into the night.
Assign someone to gather your belongings so you don’t leave anything important behind in the excitement.
A Few Last Words
At the end of the day, your wedding is about the two of you and the experience you want to create together. Every couple does things a little differently, and that’s exactly how it should be. No wedding day ever goes 100% perfectly according to the timeline—and that’s okay. The real magic comes from being present, going with the flow, and enjoying the moments as they happen. A little prep and planning truly goes a long way, but give yourselves permission to relax, laugh, and soak it all in. This is your day, your story, and it deserves to unfold in the way that feels right to you. Truly, congratulations to you both on your marriage. It’s such a special, meaningful time, and I wish you nothing but joy, love, and the happiest future together.